Xilinx Vitis 2019.2
Download the required files
- Go to the Xilinx Download page.
- Select
Vitis (SW Developer)from the top menu, and thenVitis Archivefrom the menu on the left of the page.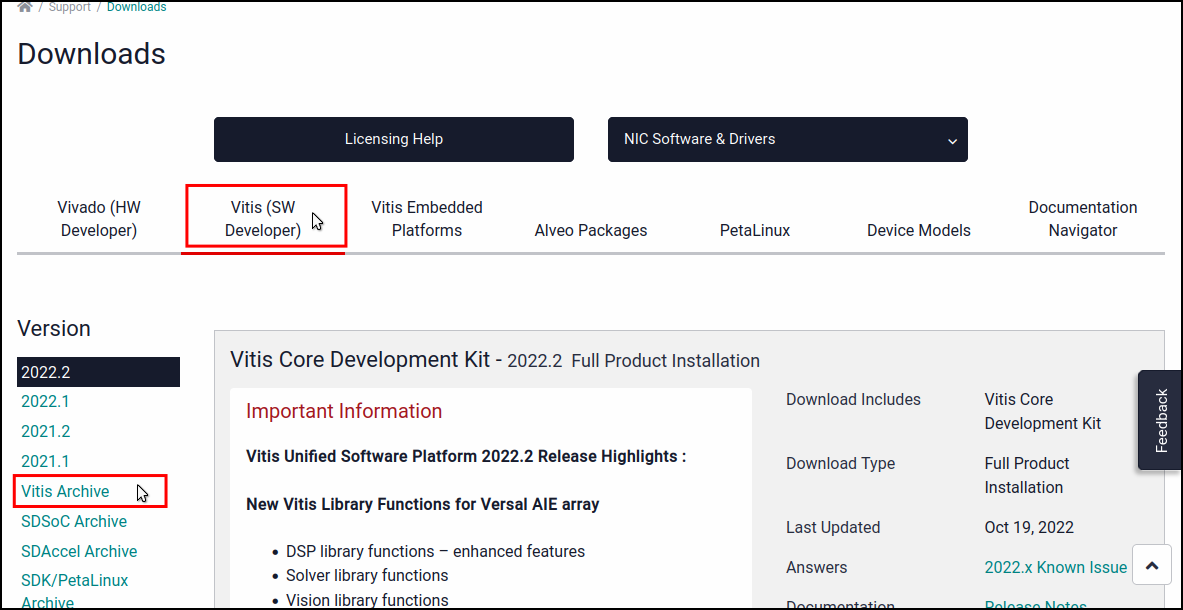
- Expand the
2019.2section, and under theVitis Core Development Kit - 2019.2heading, selectXilinx Vitis 2019.2: All OS installer Single-File Download.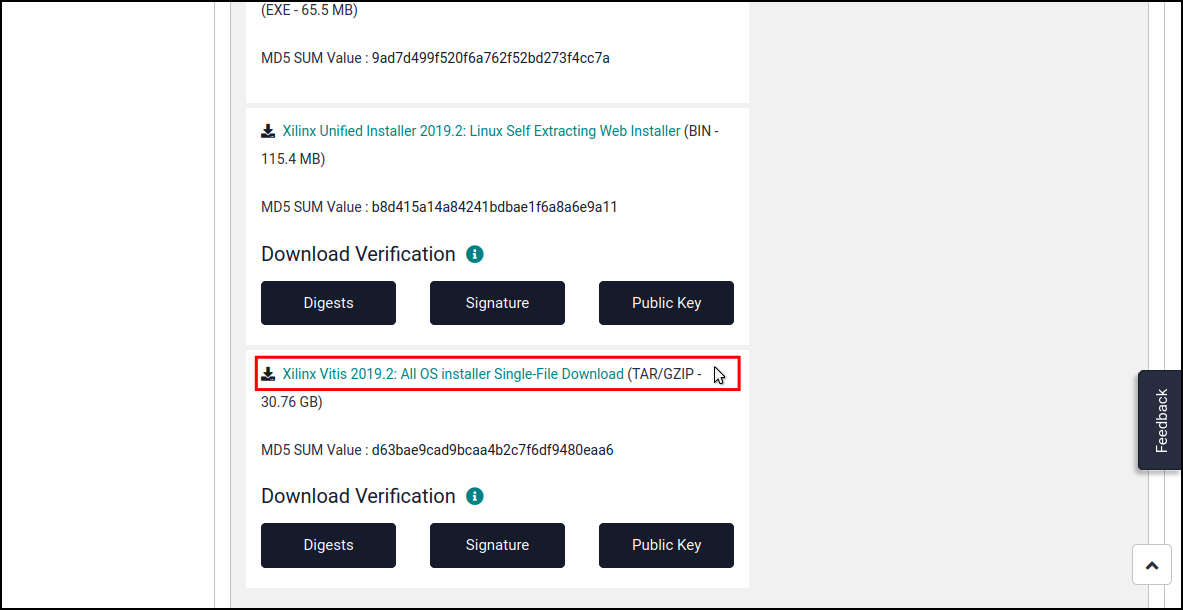
- Log in using your Xilinx credentials. You can create a free account if you do not already have one.

- Fill in your name and address for the
U.S. Government Export Approvalform, and then selectDownload. You must provide valid information in this form.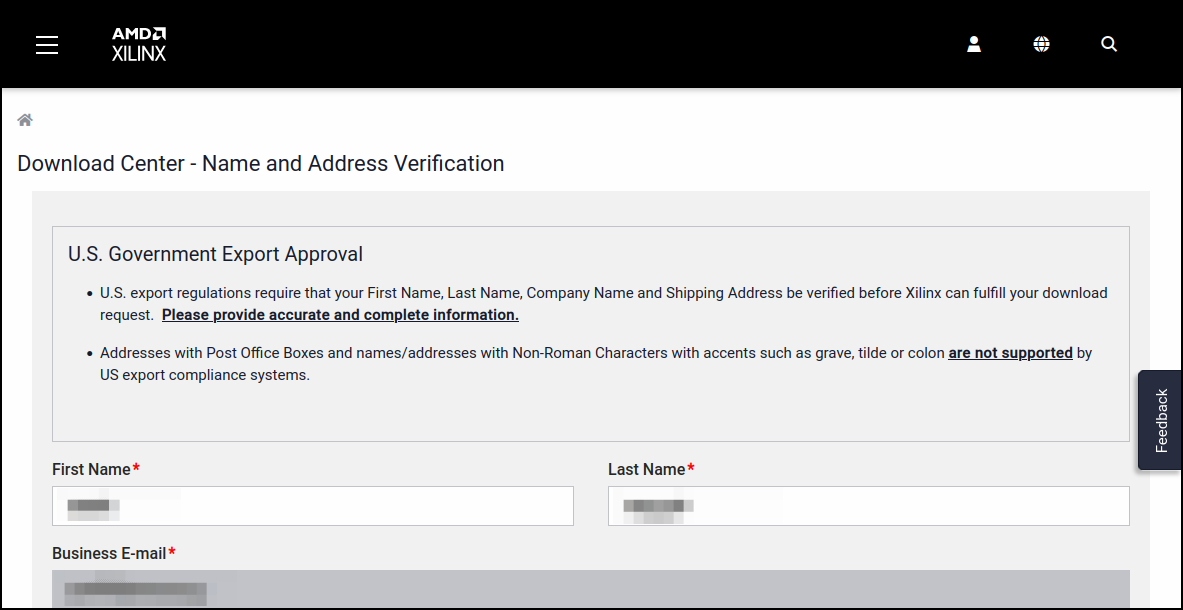
Install the application
- Open a terminal in the same directory as the downloaded
tar.gzfile, and run the following commands: - Ignore the warning about an unsupported OS by clicking
Ok.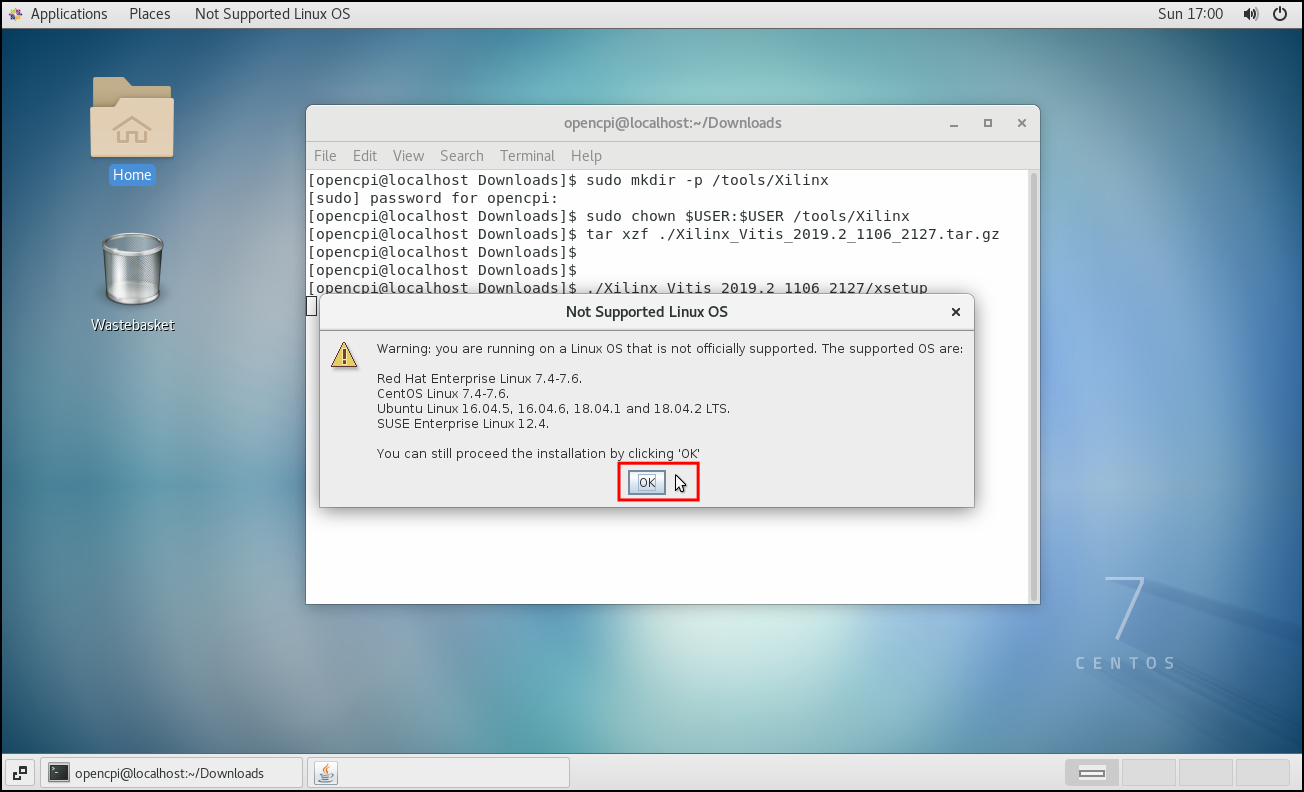
- Select
Nextto start the installation wizard.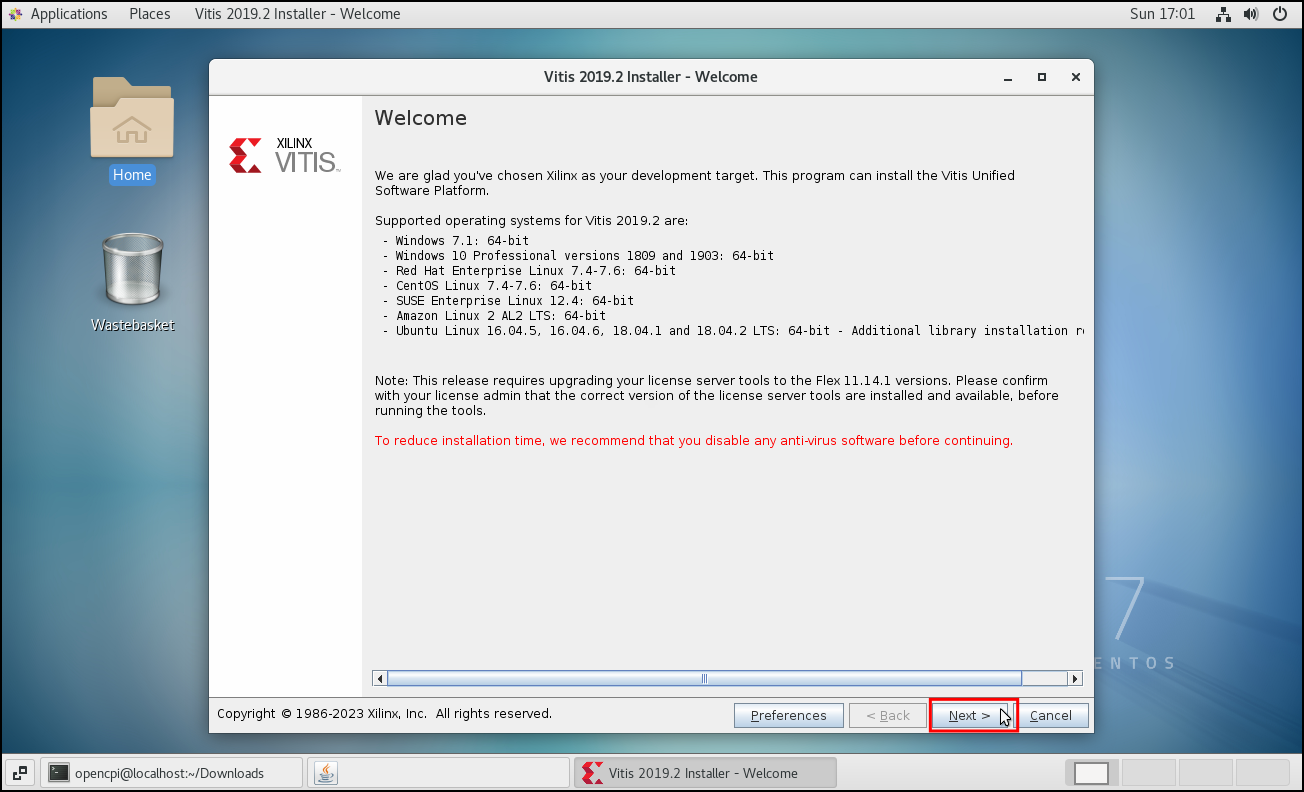
- Read and accept the three license agreements, then select
Next.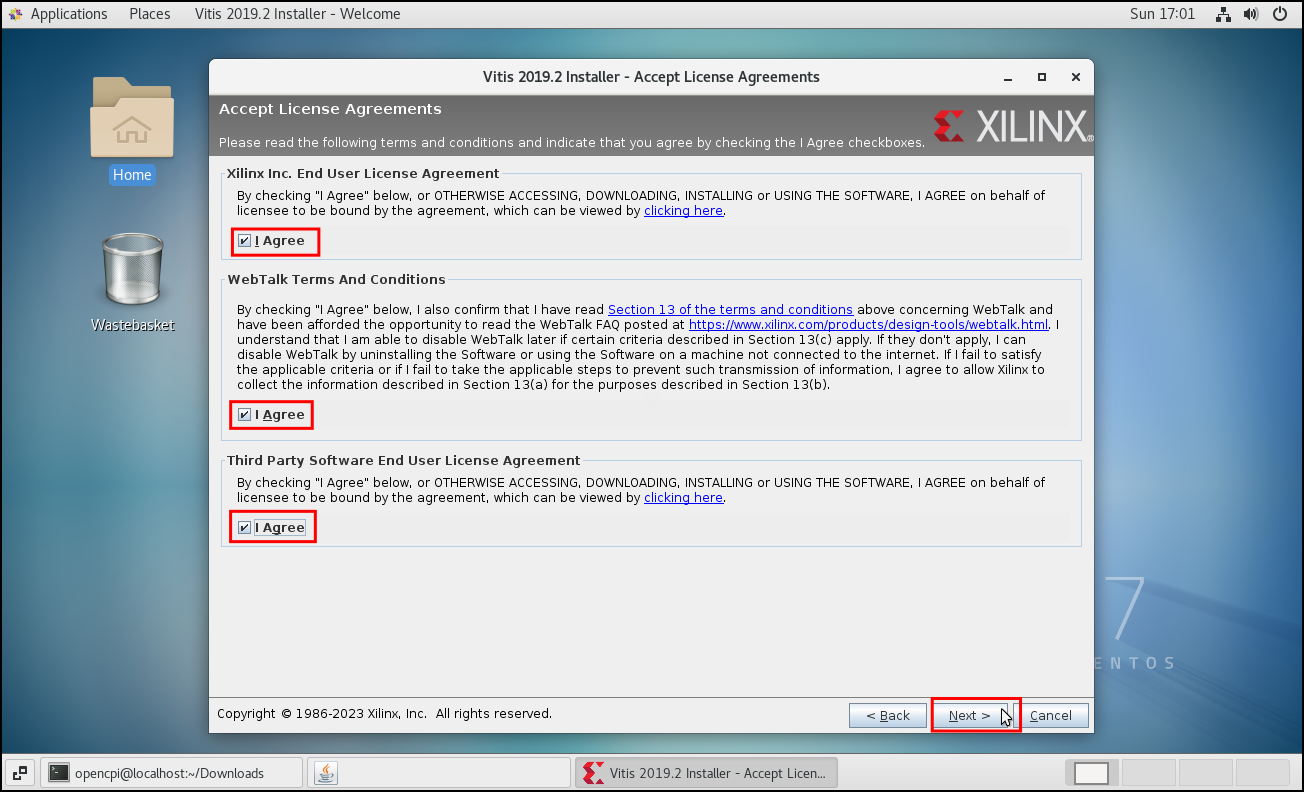
- Optionally customize which elements of Vitis will be installed, then select
Next.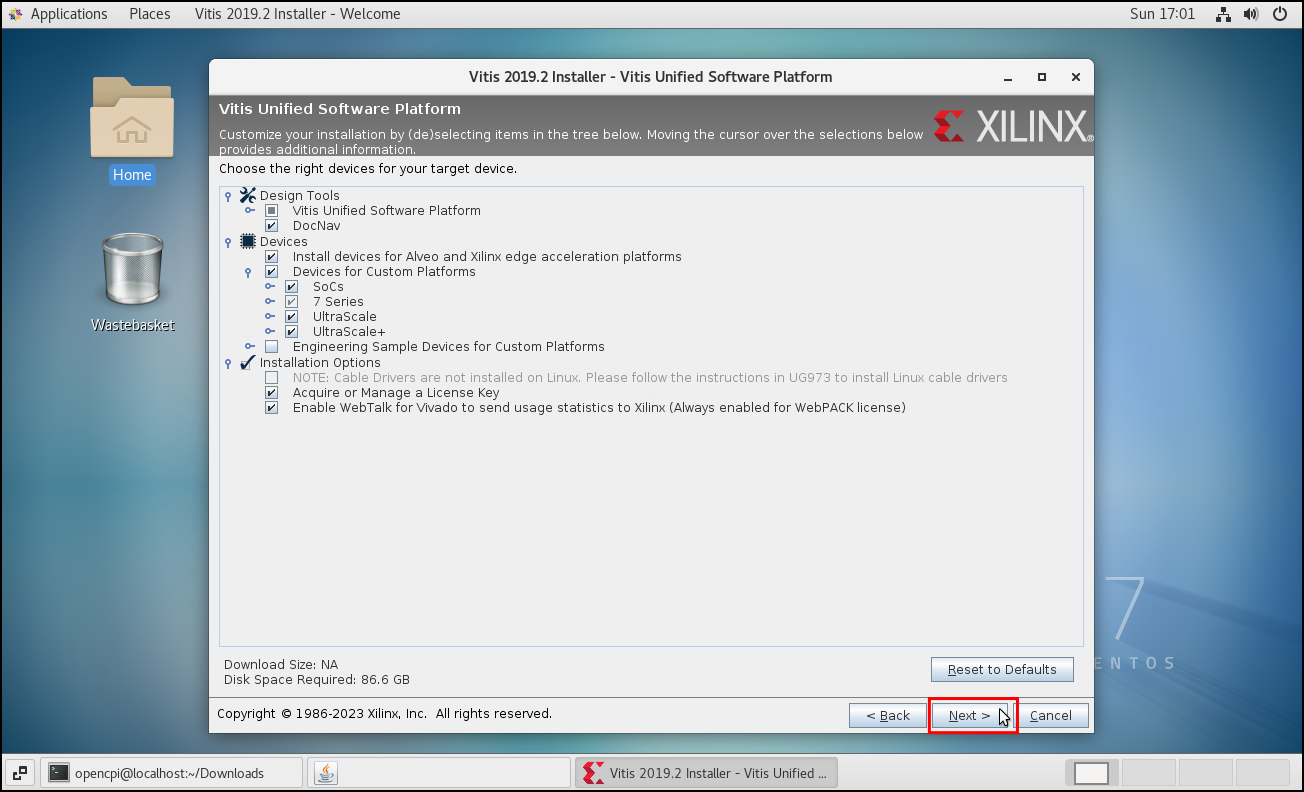
- Select
Nextto install in the default location.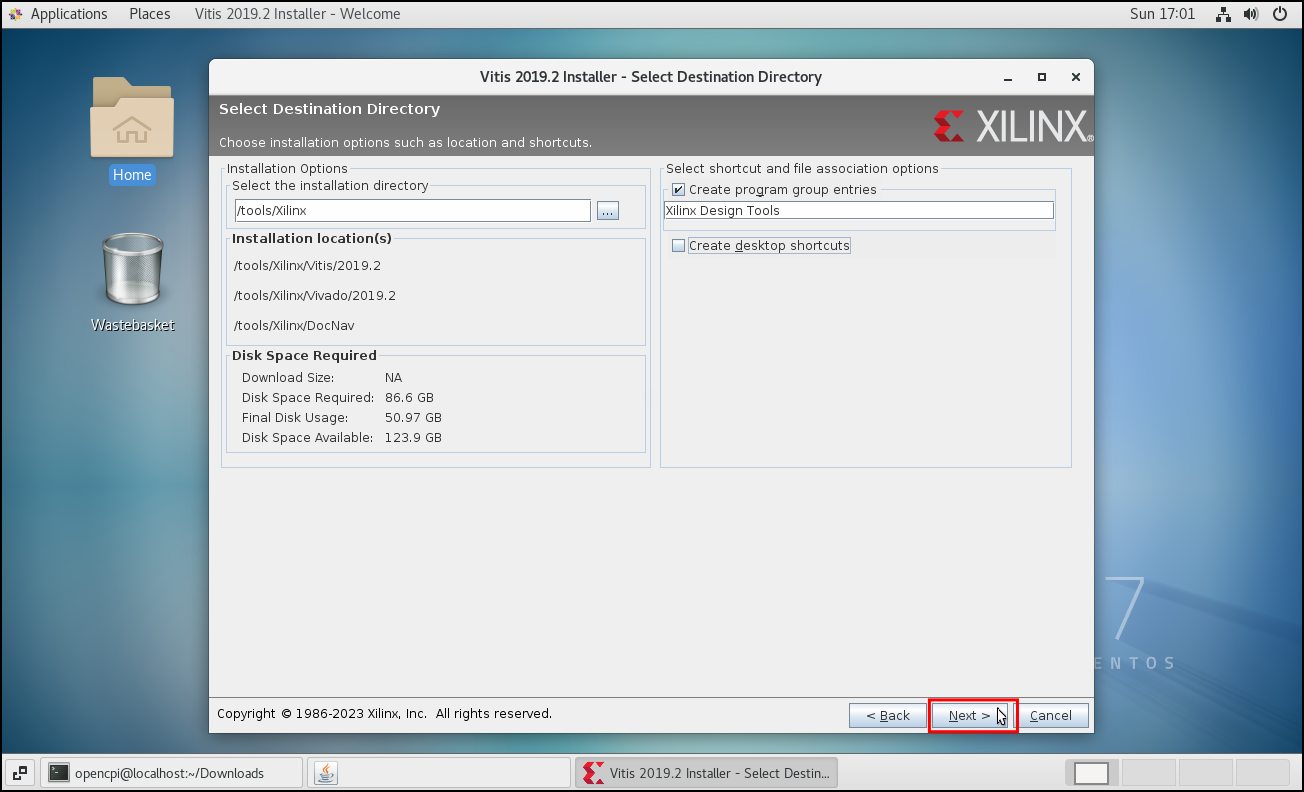
- Select
Installto start the installation.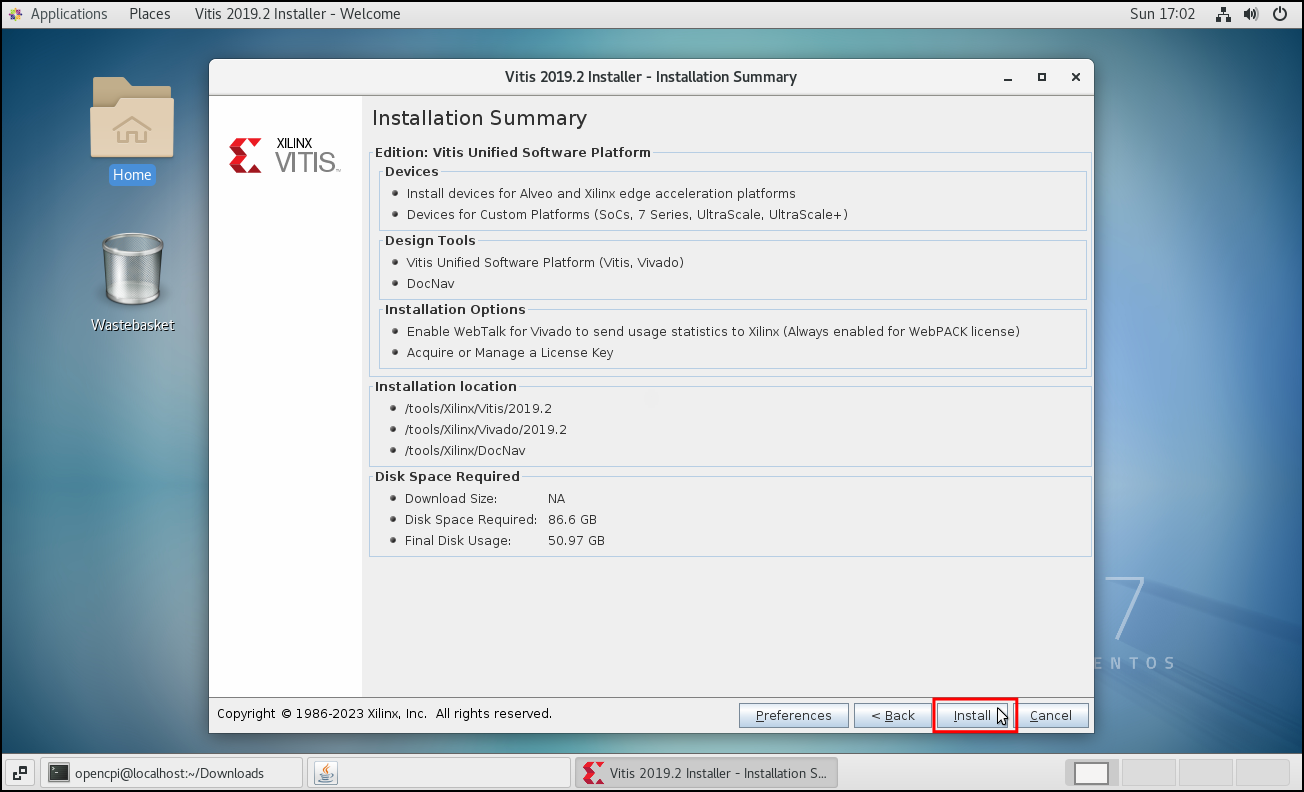
- When the installation is complete click
Okto continue.
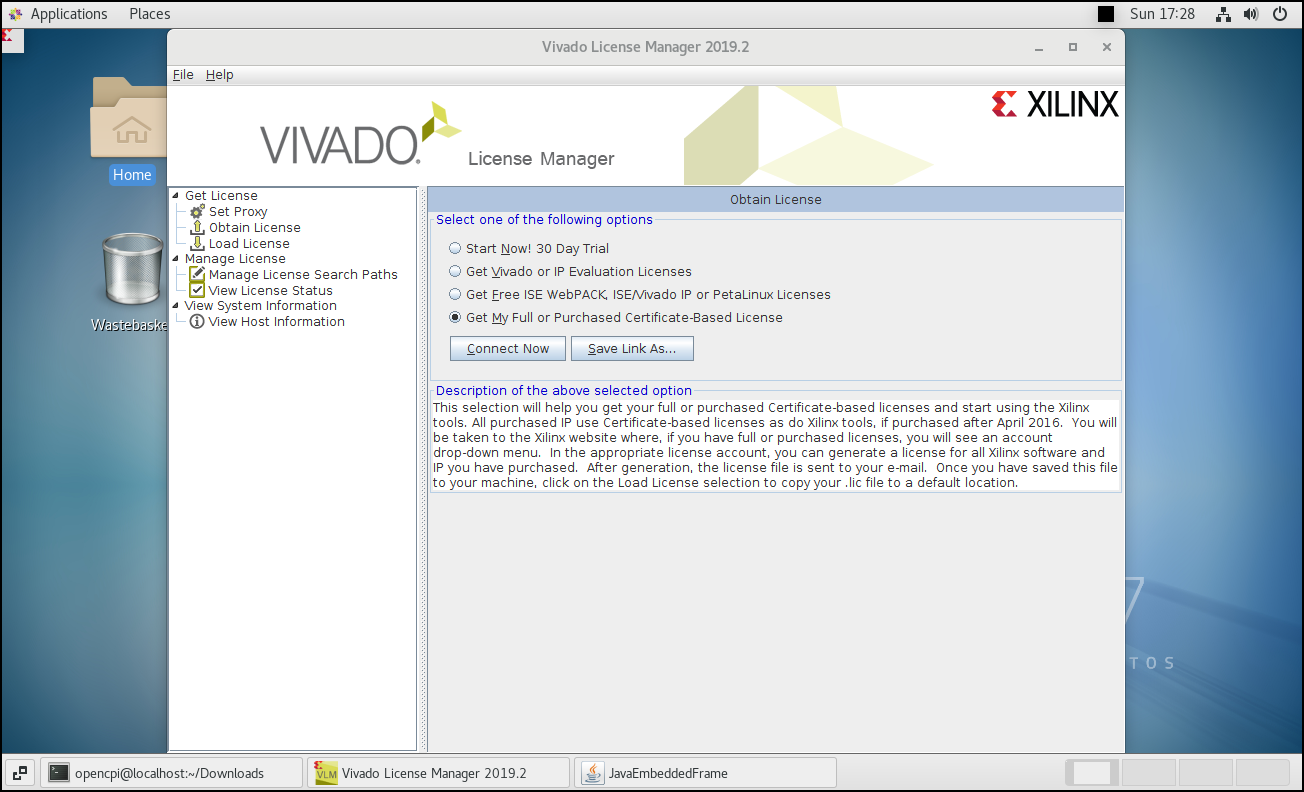
- After installation completes, the Xilinx License Manager will automatically open. If you are only using Vitis / Vivado via OpenCPI, you can just close the window as OpenCPI handles licenses separately. Otherwise, load an appropriate license, and close the window.
Additional steps when using Zynq or Zynq Ultrascale platforms
In order to build the default Xilinx bootable Linux images for Zynq or Zynq Ultrascale platforms, you must download the Xilinx binary release for that platform, and also clone the source code for Xilinx's variants of U-Boot and the Linux Kernel.
Xilinx Binary releases
- In the same location as the Xilinx installation, create a directory to store Xilinx binary images.
- Go to the Xilinx Wiki and select
Linux Prebuilt Imagesfrom the menu on the left.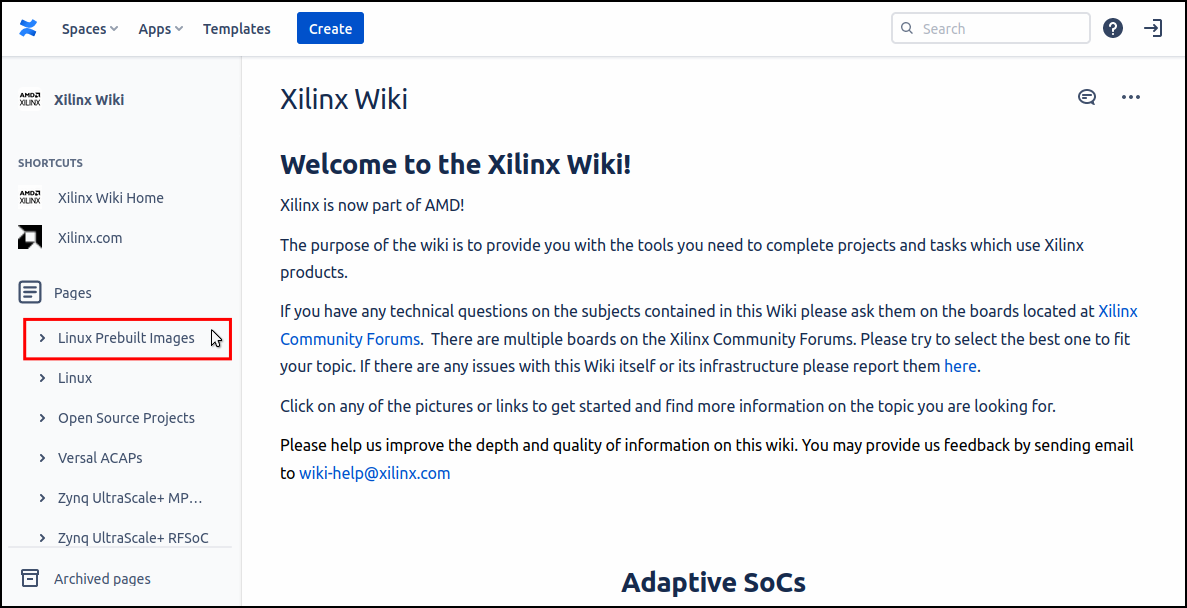
- Select
Linux Release Archivesand then on the next page2019.2 Release. - Scroll down to
Downloadsand select the platform you wish to be able to build a linux image for.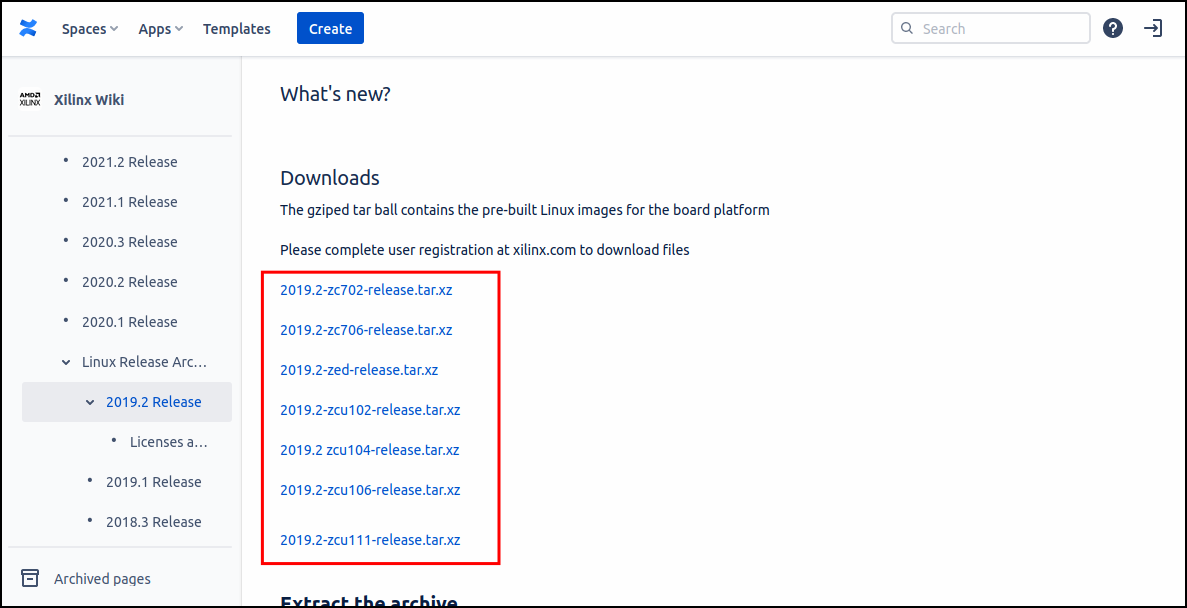
- You will need to login with your Xilinx account and complete the
U.S. Government Export Approvalform before the download will begin. - Copy the
*-release.tar.xyfile to the/tools/Xilinx/ZynqReleases/2019.2directory - Repeat steps 4 to 6 for each Xilinx platform you wish to install.
Xilinx U-boot and Kernel
In the same location as the Xilinx installation, create a directory to store source code for Xilinx's U-Boot and kernel variants:
mkdir -p /tools/Xilinx/git
cd /tools/Xilinx/git
git clone https://github.com/Xilinx/linux-xlnx.git
git clone https://github.com/Xilinx/u-boot-xlnx.git
Licenses
Note
Xilinx no longer needs a license key if you only require the free WebPACK license. If OpenCPI can't find a license file, it will use the WebPACK license by default. No further action is needed.
If a paid license is required, OpenCPI uses the environment variable OCPI_XILINX_LICENSE_FILE to set the location of the Xilinx license key or server.
# If you are using a license file:
export OCPI_XILINX_LICENSE_FILE=<PATH_TO_LICENSE_FILE>

# Else if you are using a license server
export OCPI_XILINX_LICENSE_FILE=<port>@<server.ip.addr>
To set the OCPI_XILINX_LICENSE_FILE value automatically, add one of the above lines to the <OPENCPI_INSTALL_DIR>/user-env.sh file.
If the OCPI_XILINX_LICENSE_FILE environment variable is not set, then OpenCPI will look for the license in /tools/Xilinx/Xilinx-License.lic or /opt/Xilinx/Xilinx-License.lic.
Custom Install Directory
If Xilinx Vitis is already installed on your machine in a location other than /tools/Xilinx or /opt/Xilinx, then you can specify an alternative install directory using the OCPI_XILINX_DIR environment variable.
OCPI_XILINX_DIR value automatically, add the above line to the <OPENCPI_INSTALL_DIR>/user-env.sh file.